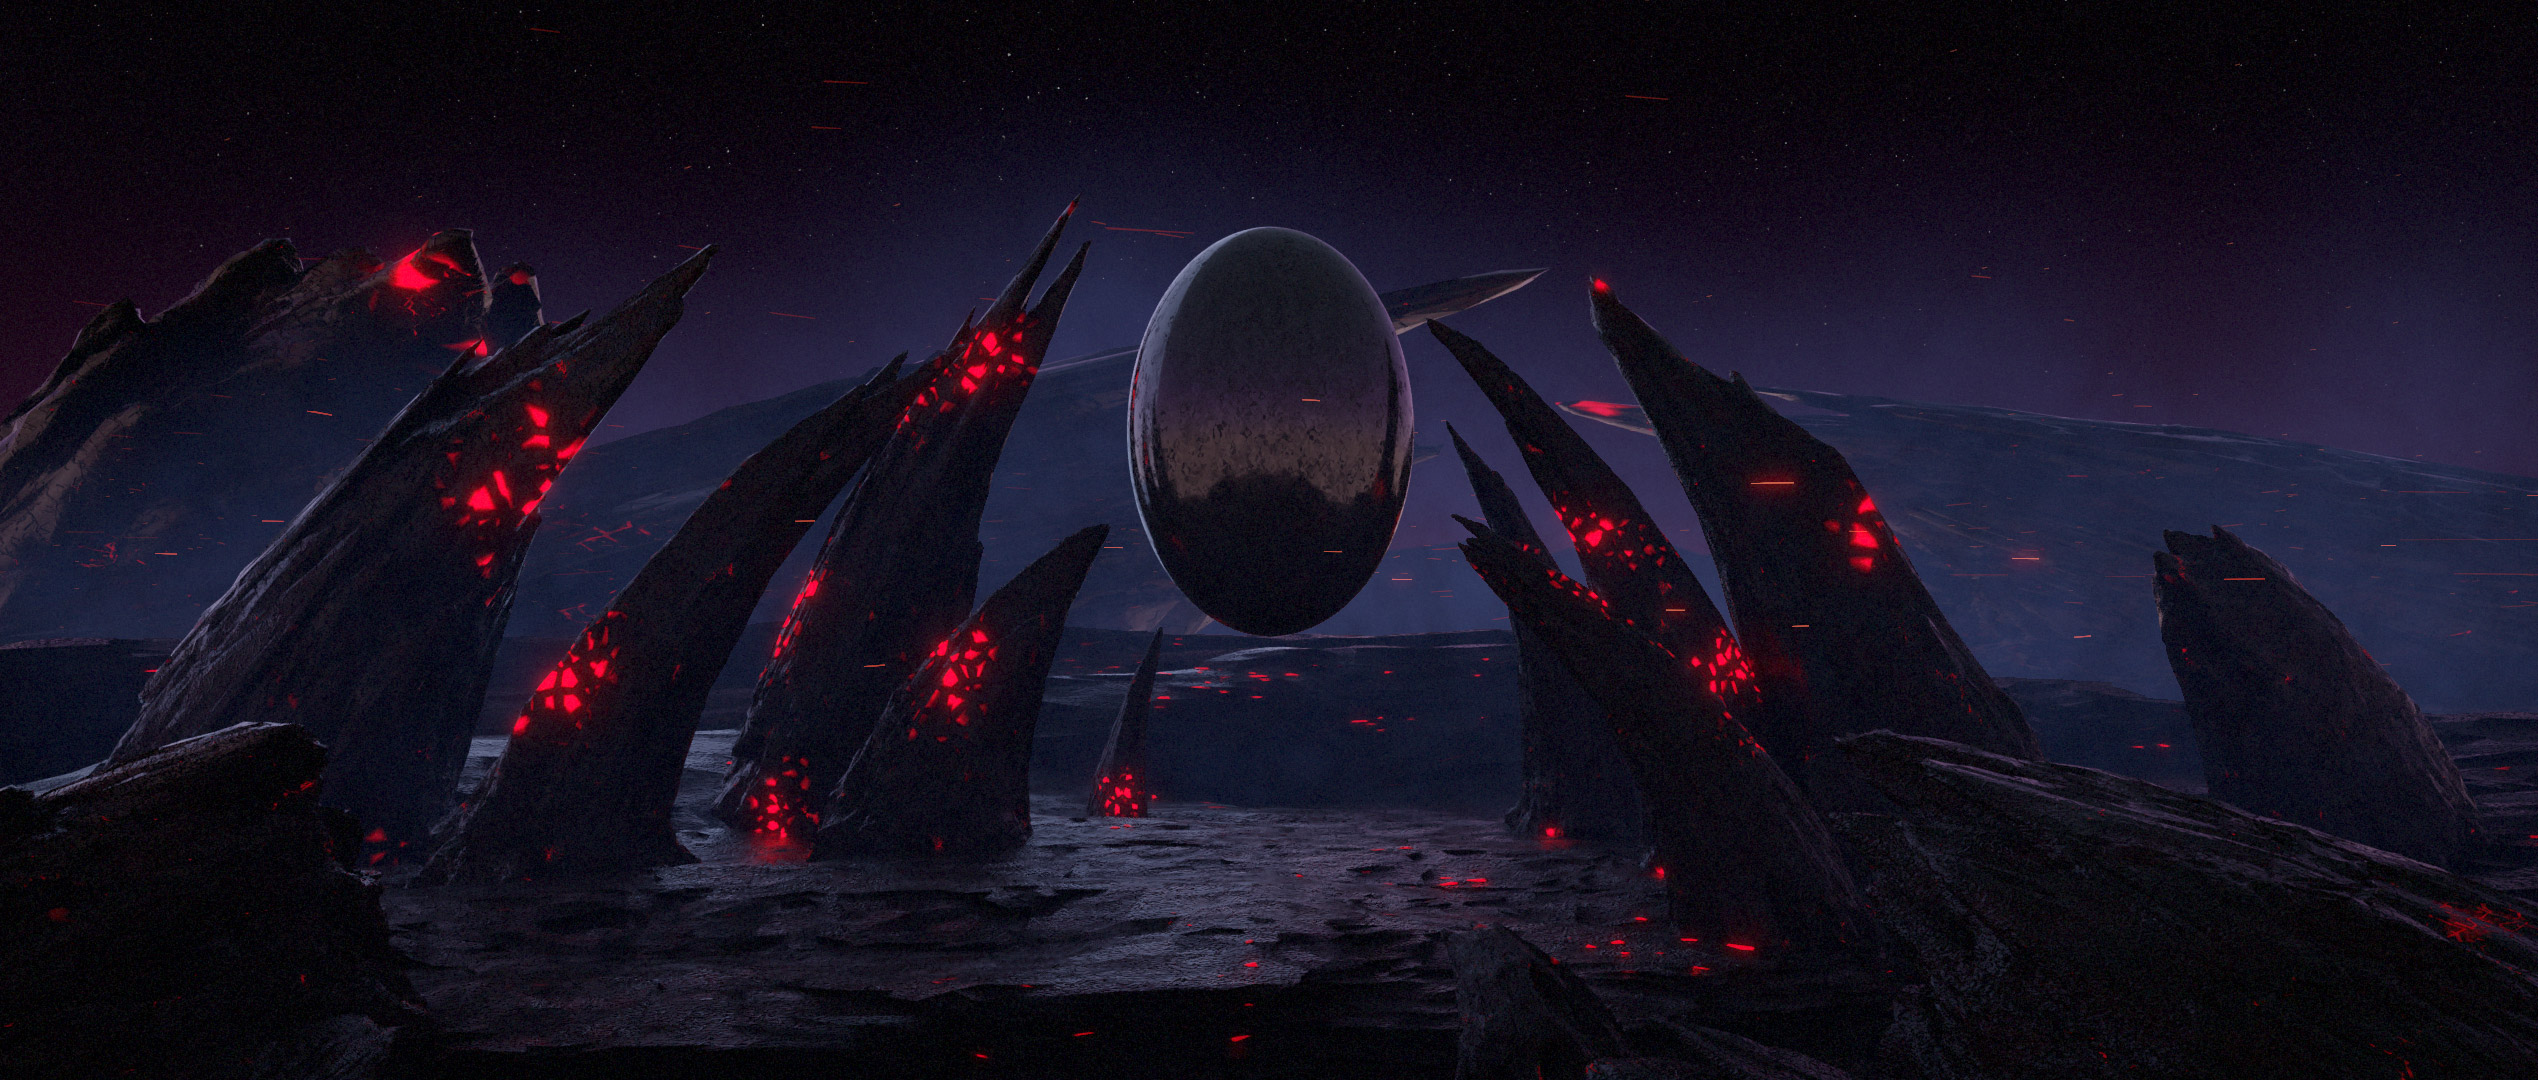
Welcome to this exciting tutorial series! We’ll be taking a look at how to create a cool science fiction landscape using nothing but procedurally generated models and materials inside blender 2.8! I hope you enjoy it!
In Part 1 we start with an introduction to the basics of using modifiers in Blender 2.8. We then move into laying out the basics of our first rock spire object for our scene! Enjoy!
In Part 2 we take a look at using Eevee to create materials in real-time as well as an introduction to creating realistic shaders in blender 2.8. Enjoy!
In Part 3 we take a look at using cycles to develop our materials. We also polish off our rockspire shader and get into some of the complex ways material nodes can interact. After this tutorial you’ll be able to make layered procedural materials on your own! Enjoy!
In part 4 we will take a look at refining our shaders and modifiers even further. We create more detail and realism and get everything ready for laying out the final scene. Let’s get started!
In part 5, all of our hard work starts to really pay off. We cover scene layout, composition and how to think about your scenes as you put them together. By the end of this episode our landscape is really starting to take shape! Enjoy!
In part 6 we use what we’ve learned so far to create our own custom procedural sky complete with stars, atmosphere and an animated sunset transition all in blender 2.8 – let’s do this!
In this episode we create the shader for our metallic egg object and use it as a chance to explain and explore the wonderful world of reflections. We also hit on an explanation of normals and how they work to create the surfaces of you objects. Oh… and we do metal. Cool.
In this tutorial we finish off our sci-fi scene and find out some tips for taking your renders from average to amazing. We add our lighting and final touches and prep for the render. Enjoy!
In this tutorial we go through the steps involved in preparing our scene for rendering. We cover lots of exciting details like sample count, noise reduction and my personal favourite Cryptomatts!
In this final tutorial for the series we take our render layers from blender and create the final composite in after effects. We add in some cool smoke effects and flying embers to really help bring the landscape to life. Enjoy!

