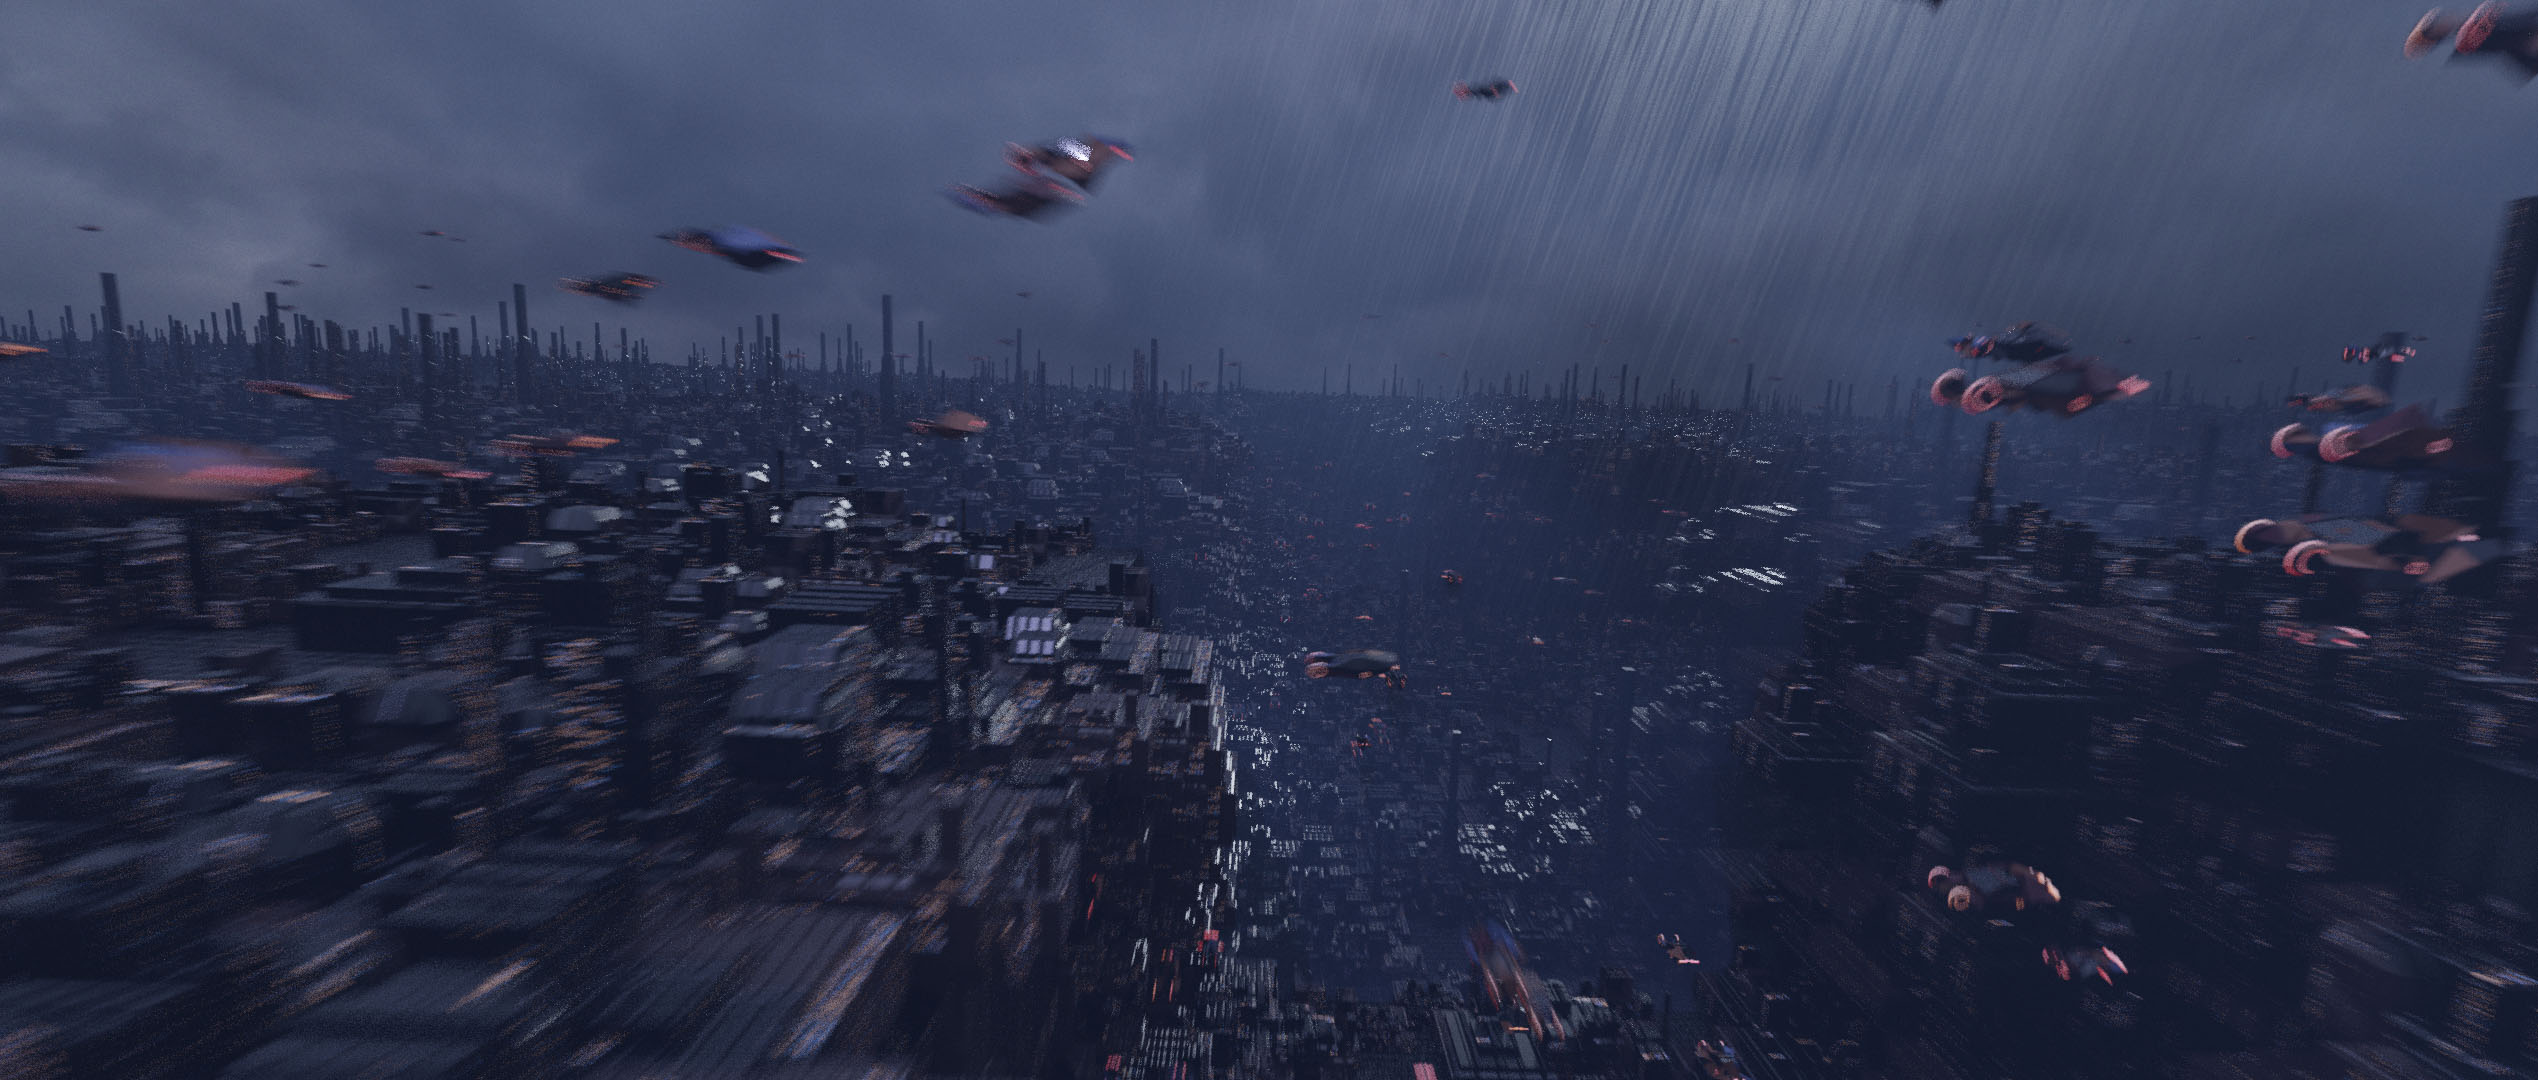
Sign up to the CBaileyFilm newsletter to download a free jpg with a blow up of the rain shader and the cloud shader network from this series. Thanks for watching!
In this tutorial we’ll begin the process of generating a futuristic city based on the Blade Runner universe. We’ll use a two step process, first creating small city blocks with one particle system, and then creating the full city with a second system. By the end of this tutorial you’ll have a good idea of how to use particle systems to create complex scenes containing thousands of repeating elements. Leave any questions in the comments below. Thanks for watching!
In this tutorial we create the base shader for our city buildings and begin mapping out our camera animation. Then we go crazy and start adding in flying cars…. somebody stop me! This is getting out of hand!
In this tutorial we begin creating traffic for our city scene. We start by modelling and texturing a flying car, then we create a particle system with a spline to create traffic. If you have any questions or comments please leave them down bellow. Thanks for watching!
In this tutorial we use effector collections to create lanes of traffic and use some tricks to create different cars, paint jobs, light colours and speeds quickly and easily! Let’s get into it!
Discover the power of lighting your scene with an HDRI! in this tutorial we get our scene looking even more realistic with a stormy sky, variation in our building textures and adding some sun lamps. Let’s do it!
In this tutorial we use some cool tricks to make a landing pad for our hero car. We then go a little overboard creating holographic landing pad elements that looks so cool you won’t care that they don’t make any sense! Regardless, you’ll come away with a good understanding for how to create glowing holographic user interfaces in your projects! Let’s get into it!
In this tutorial we look at how to create fake (but awesome looking!) volumetric cloud and fog with nothing but a shader and a plane. This technique results in large scale cloud effects without the huge render cost of using real volumetrics. Buckle up – we need to use the maths node a bit to pull this one off.
In this tutorial we build on what we created in part 7 and use our handy, fake volumetric shader to create a huge rain storm. We then add some lightning for extra effect!
The FINAL episode!!! We made it! In this last part we add some crazy cool touches to our camera to make the animation really come alive. Then we optimise the scene and take our 15 minute per frame cycles render down to 1 min 45 seconds per frame. BOOM! Now that’s a speed boost. 🙂 I really hope you’ve enjoyed this series. Until next time!

